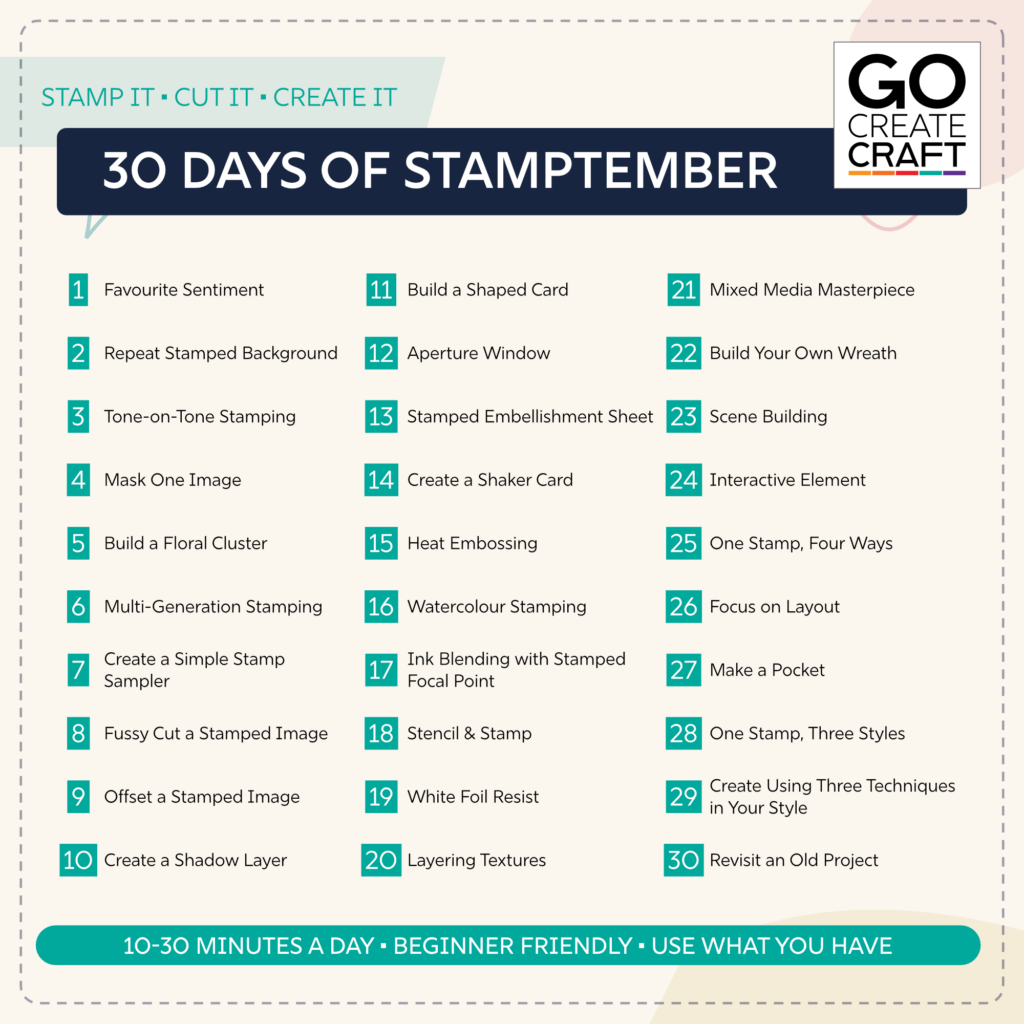
September has arrived, and that means it’s time for Stamptember: 30 Days of Stamps & ScanNCut!
Throughout September, we’re sharing one creative prompt each day to help you use the stamps, inks, dies, cutting files and materials you already own. The prompts are designed to be flexible, beginner-friendly and achievable in around 10–30 minutes, although you’re always welcome to take an idea further. Make a card, scrapbook page, journal spread, tag or any other project that inspires you—the aim is simply to create.
You can join us every day, dip in when a prompt catches your eye or work through the list at your own pace. Share your projects in our Facebook or Discord communities and use #Stamptember2026 and #GoCreateCraft so we can celebrate what you make.
Today’s prompt is Favourite Sentiment: create a card, scrapbook layout or journal page that puts your favourite sentiment stamp, die or file centre stage.
To launch the challenge, Mary Fisher of Mary’s Krafty Kreations is sharing her wonderfully personal take on the prompt. Over to Mary…
“Take It Easy” with a Musical Twist
For this year’s Stamptember Day 1 challenge, I decided to step outside the usual “favourite sentiment” idea and build my project around something that always makes me feel calm and creative: my favourite band, the Eagles.
Instead of using a traditional phrase, I chose the iconic title “Take It Easy” as my focal point, surrounding it with musical-note paper and a little mixed-media magic.
Concept and inspiration
“Take It Easy” is one of those songs that instantly creates a laid-back, hopeful mood—perfect for a crafting session when you want to slow down and enjoy the process.
I loved the idea of turning that feeling into a tactile piece: a neutral, music-inspired tag that acts as a little reminder to breathe, create and not overthink things.
Materials and colour palette
I kept the base palette warm and neutral so the music theme could shine without becoming too busy:
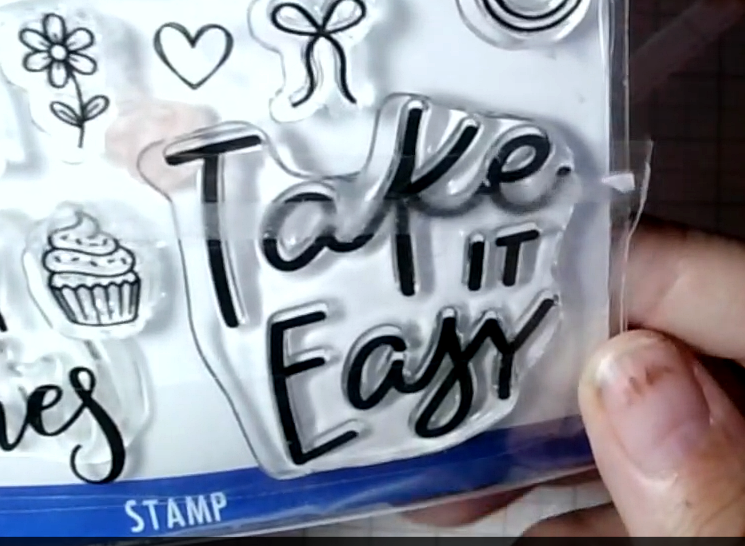
A neutral beige or dark-cream sentiment featuring “Take It Easy”
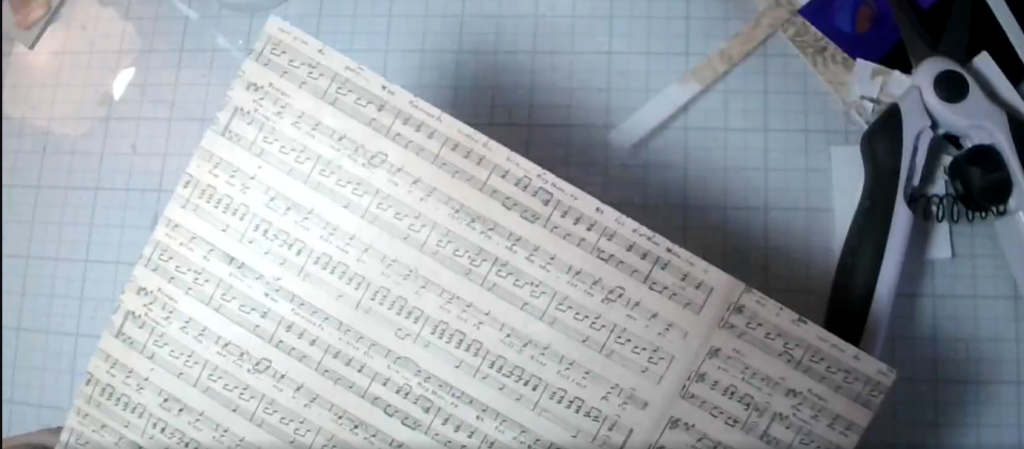
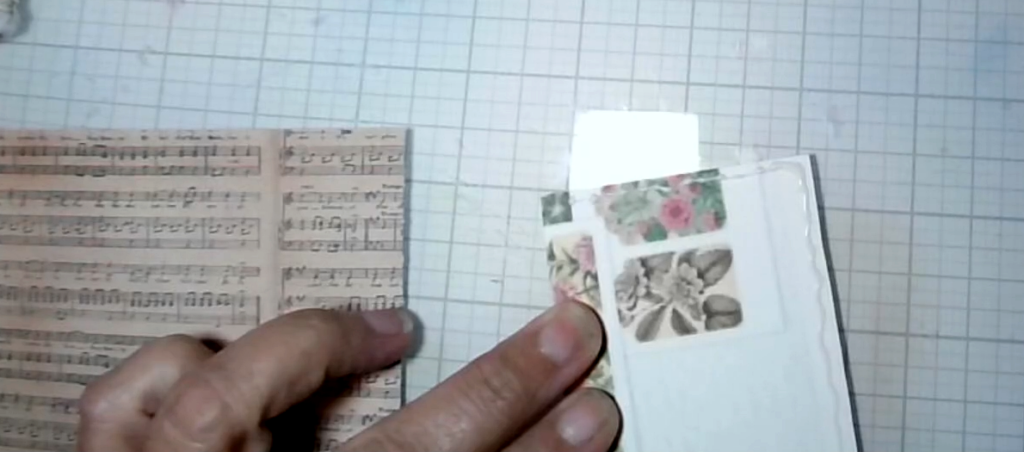
Musical-note paper in coordinating beige and cream tones
A funky neon-pink square behind the sentiment for a modern pop of colour
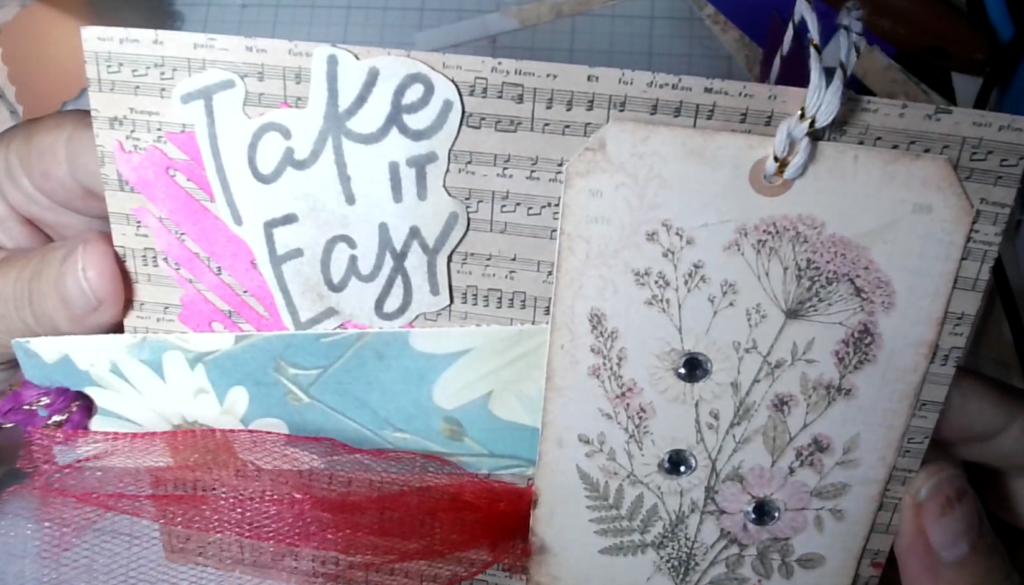
Red mesh tucked beneath the tag to add texture, depth and movement
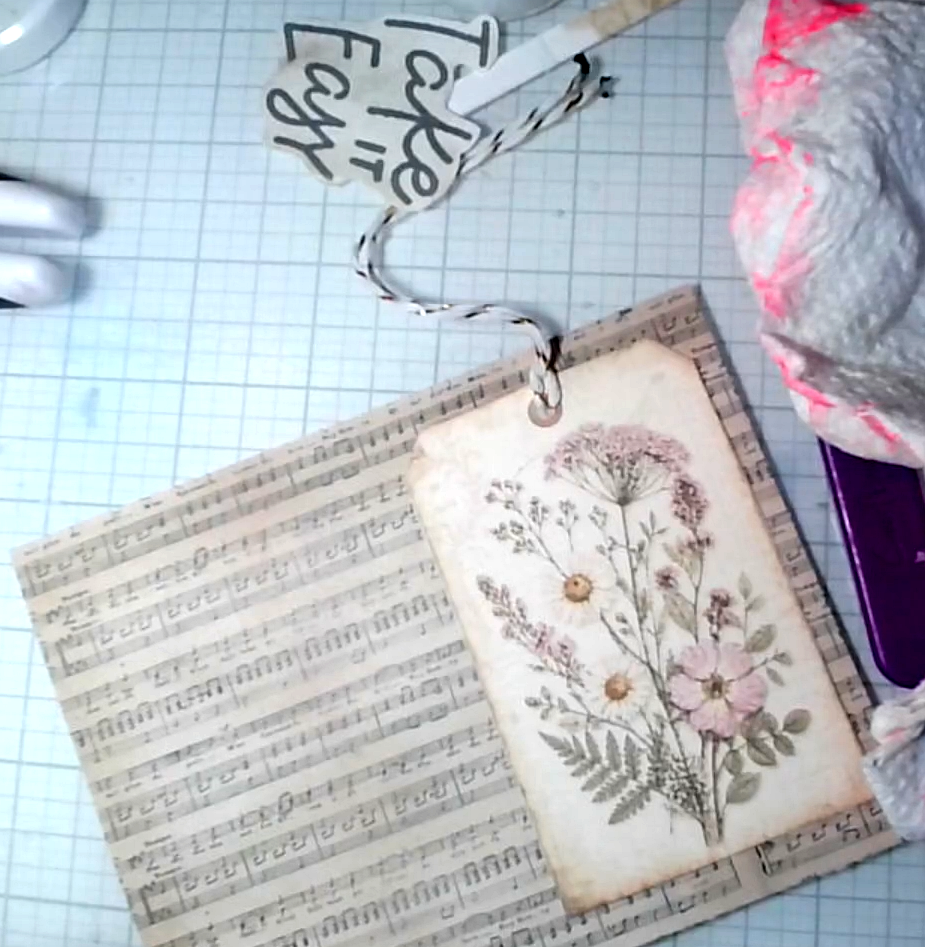
A neutral floral tag element to soften the musical theme with a touch of nature
Everything is tied together by the creamy, dark-beige colour family, while the neon pink and red mesh add playful surprises.
IMAGE 1: Musical-note paper used for the card front.
IMAGE 2: The “Take It Easy” sentiment.
How I put it together
Build the base. Start with a sturdy card or journal page in a neutral tone.
Layer the music. Add strips, scraps or a complete piece of musical-note paper, slightly offset to create a subtle background rhythm.
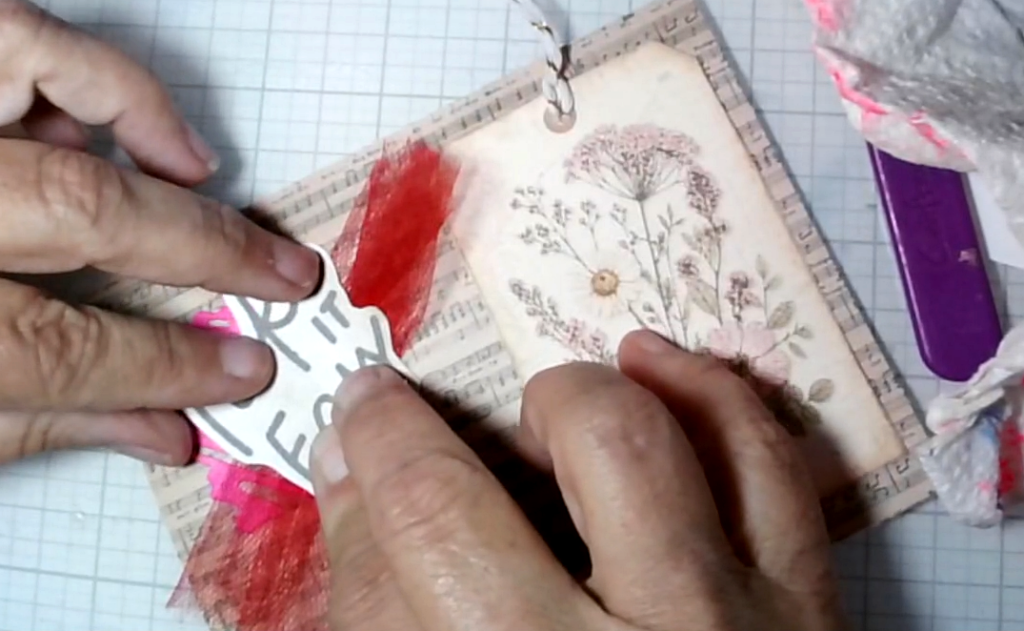
Add texture. Tuck a small piece of red mesh behind the place where the tag will sit, allowing it to show at the left edge.
Create the focal point. Mount the “Take It Easy” tag over a funky neon-pink square. The bright layer makes the neutral sentiment pop without overwhelming it.
Soften it with florals. Add a neutral floral tag element. This stops the project feeling too graphic and gives it a handmade, junk-journal feel.
Add the final touches. A brad, stitch line, tiny music charm or a little sparkle can bring in extra dimension.
IMAGE 3: Inking the edges of the card front with Ground Espresso Distress Ink.
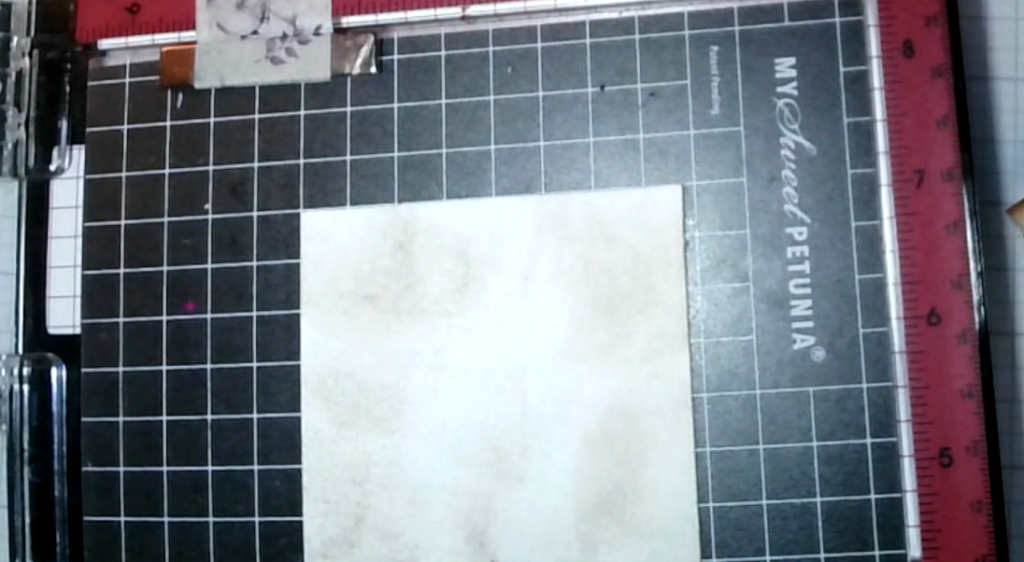
IMAGE 4: Inking the sentiment paper to coordinate with the card.
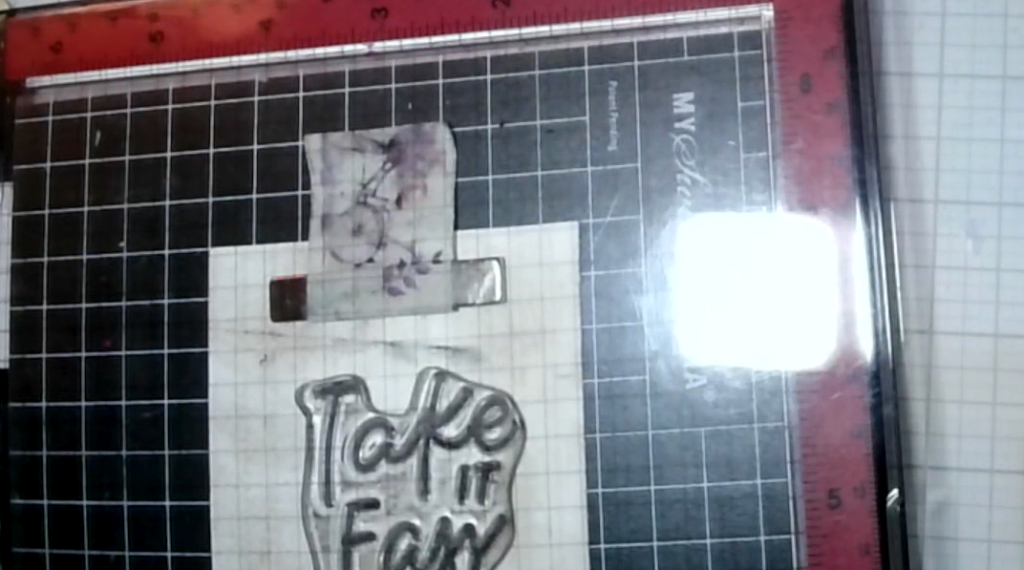
IMAGE 5: Stamping the sentiment with Ground Espresso ink.
IMAGE 6: Auditioning the pieces for the sentiment.
IMAGE 7: Turning the tag into a side-opening pocket.
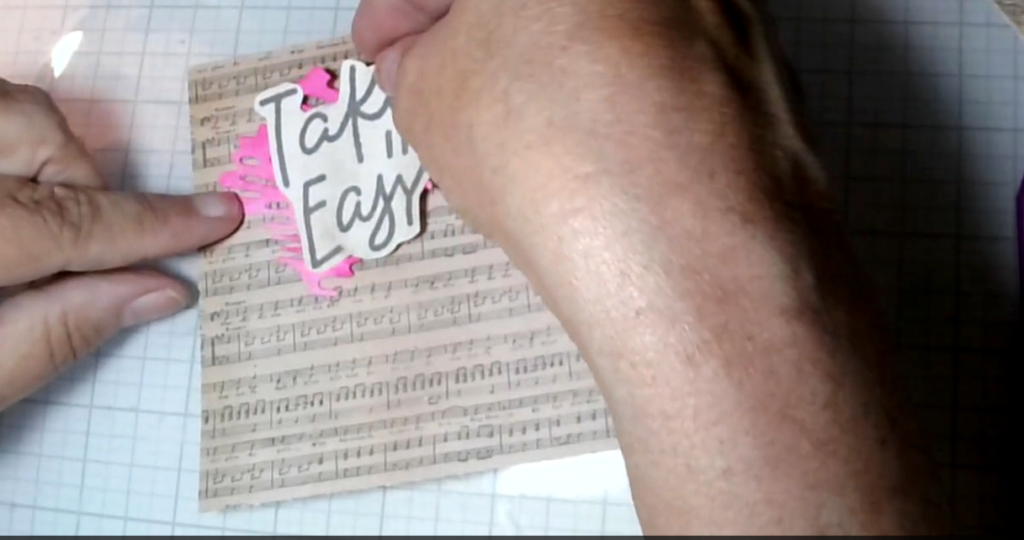
IMAGE 8: Testing the position of the red mesh.
Why this works for Stamptember
Stamptember is about celebrating stamps, sentiments and creative interpretation. By using a song title as my “sentiment”, I stayed true to the spirit of the prompt while making it personal.
I cannot live without music, so the musical-note paper reinforces the theme. The mixed-media layers—the mesh, tag and bright square—help the finished piece feel like a miniature artwork rather than a standard card.
Try your own twist
If you’re looking for a fresh response to a “favourite sentiment” challenge:
Think beyond traditional phrases: try a song title, book title or one meaningful word.
Let your favourite music, hobby or memory guide your paper choices.
Mix neutrals with one bold accent colour to keep the design cohesive but interesting.
This “Take It Easy” piece is now one of my favourites—not just because I love how it looks, but because every time I see it, I hear the song in my head and remember to slow down and enjoy the craft.
IMAGE 9: The selected mesh placement—“Winner, winner, chicken dinner!”
IMAGE 10: Finished project with added sparkle and floral bookmark.
**#LetsGetKrafting — Mary’s Krafty Kreations*
Ready to join in?
Choose your favourite sentiment and make it the star of today’s project. You can interpret the prompt as closely or as freely as Mary has—the personal connection is what matters.
Share your Day 1 creation in the Go Create Craft Facebook or Discord community using #Stamptember2026 and #GoCreateCraft.