
Create with What You Have (No Need to Buy Everything)
Starting a new craft project should feel exciting — not like you need to go shopping first.
One of the most common things we hear is:
“I don’t have the same supplies… can I still do this?”
The answer is always yes.
In Colour, Cut & Go Create, the focus isn’t on having the exact products — it’s about understanding how things work, so you can adapt them using what you already have.
This guide will help you do exactly that.
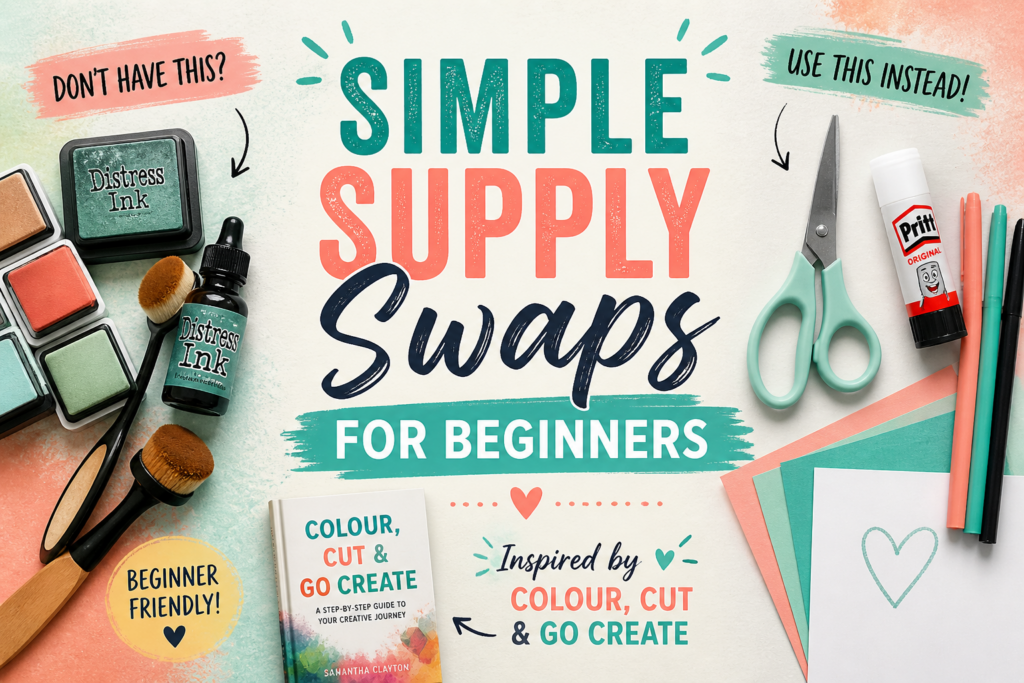
🎨 1. Colouring & Ink Techniques
You don’t need specific branded inks or specific media types to create beautiful colour effects.
If you don’t have:
- Distress Oxides or dye inks for watercolour techniques
Try using:
- Watercolour paints
- Brush pens
- Cheap felt tips with a damp brush
- Watercolour pencils or crayons
What matters most:
- How the colour blends
- Whether it reacts with water
👉 Tip: If it moves with water, you can probably blend it.
Note: there are a lot of similar products to the Distress range ink pads. If you have another manufacturer’s equivalent product, just use that instead.
✂️ 2. Cutting Tools & Machines
Not everyone has the same cutting setup — and that’s completely fine.
If you don’t have:
- A ScanNCut, Cricut or Silhouette
Try using:
- Scissors and templates for simple shapes
- A craft knife + cutting mat
- Printed templates to cut by hand
If your machine is different:
- Focus on the result, not the tool or software I’ve used to create it
- Most designs can be adapted between machines
👉 Tip: Clean shapes matter more than how they’re cut.
📄 3. Paper & Cardstock
Paper is one of the easiest things to swap.
If you don’t have:
- Specialist cardstock
Try using:
- Printer paper (layer it onto card for strength)
- Packaging card (cereal boxes are brilliant)
- Scrapbook paper substitutes
What matters most:
- Thickness (does it need to and can it hold its shape?)
- Surface (smooth vs textured)
👉 Tip: Test a small piece first before committing.
🖌️ 4. Blending Tools
Those fancy blending brushes? Lovely — but not essential.
If you don’t have:
- Blending brushes or foam tools
Try using:
- Makeup brushes
- Cotton pads or cotton buds
- Tissue or kitchen roll
- A soft cloth
- A damp baby wipe (great option for acrylic paints)
👉 Tip: Start light and build slowly — that’s the secret, not the tool.
✏️ 5. Pens, Marking & Details
Adding detail doesn’t require specialist pens.
If you don’t have:
- Fineliners or gel pens
Try using:
- Standard biro
- Felt tip pens
- Pencil (for softer detail)
👉 Tip: Contrast is what makes details stand out.
🧵 6. Embellishments & Finishing Touches
This is where you can really get creative.
If you don’t have:
- Die cuts or embellishment packs
Try using:
- Hand-cut shapes or fussy cutting elements from patterned paper
- Leftover scraps
- Old cards or packaging
- Printed elements and digital downloads (even AI if its for personal use)
👉 Tip: Layering creates interest — even with simple shapes.
💡 The Real Secret
Great crafting doesn’t come from having more supplies.
It comes from:
- understanding your materials
- experimenting
- and giving yourself permission to try
The more you swap and adapt, the more confident you become.
✨ Try This Next
Pick one project from Colour, Cut & Go Create and challenge yourself to:
- swap at least two supplies
- and see what happens
You might surprise yourself.
💛 You’ve Got This
You don’t need the exact tools.
You don’t need the perfect setup.
You just need a place to start.
And you already have that.
👉 Want more beginner-friendly guidance?
Take a look inside Colour, Cut & Go Create and start building your creative confidence step by step. Download our ultimate Simple Supply Swaps Guide.