
Hey everyone, it’s Brian from B&D Crafts. Today, I will be demonstrating how to produce a reverse stamped image.
YOU WILL NEED:
- Ink pad (Your choice of color)
- Stamp block (if working with cling or photopolymer stamps)
- Your stamp(s) of choice
- Cardstock (to stamp image on)
- Silicone mat (such as an embossing mat or silicone glue mat
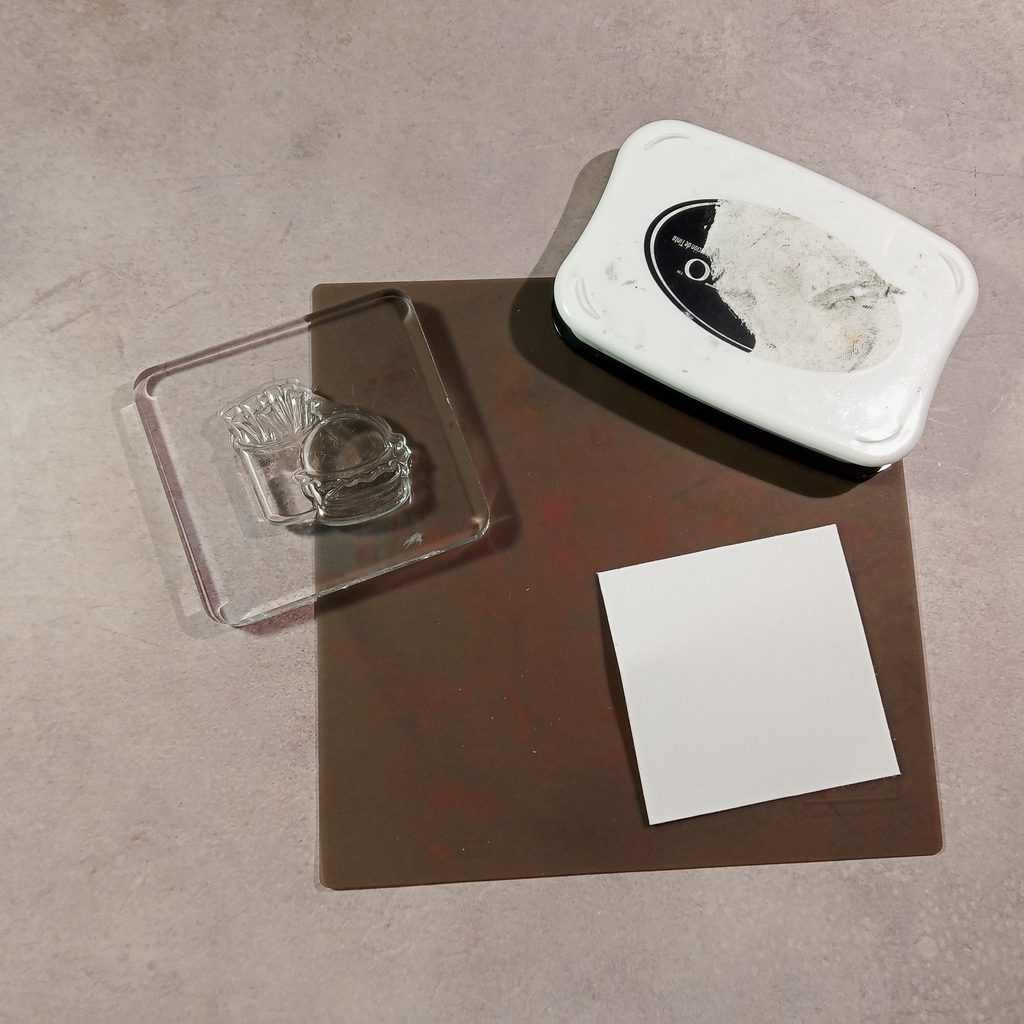
THE “REVERSE STAMPING” PROCESS:
- Gather all of your supplies listed above
- Ink up the stamp that you chose to use.
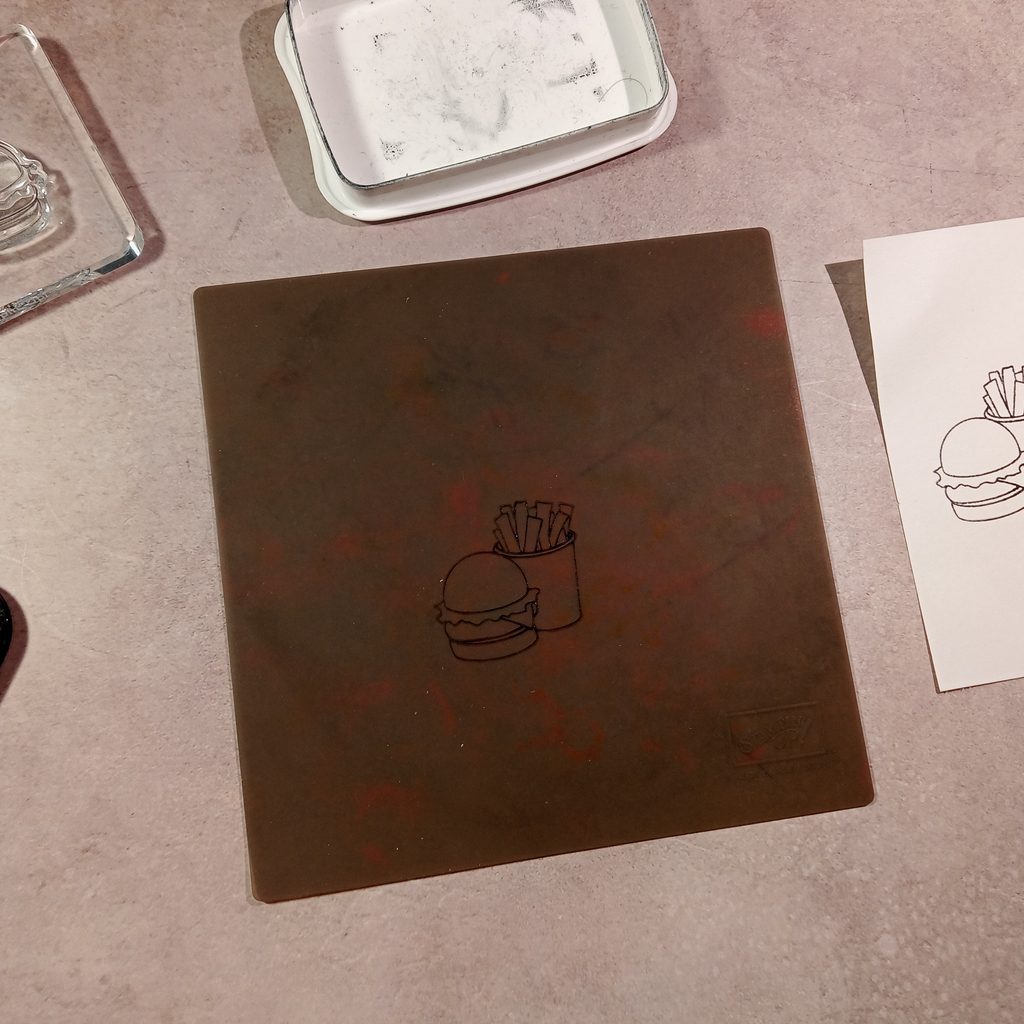
- Press stamp block firmly on your silicone mat
- Place your cardstock gently onto the image on the silicone mat
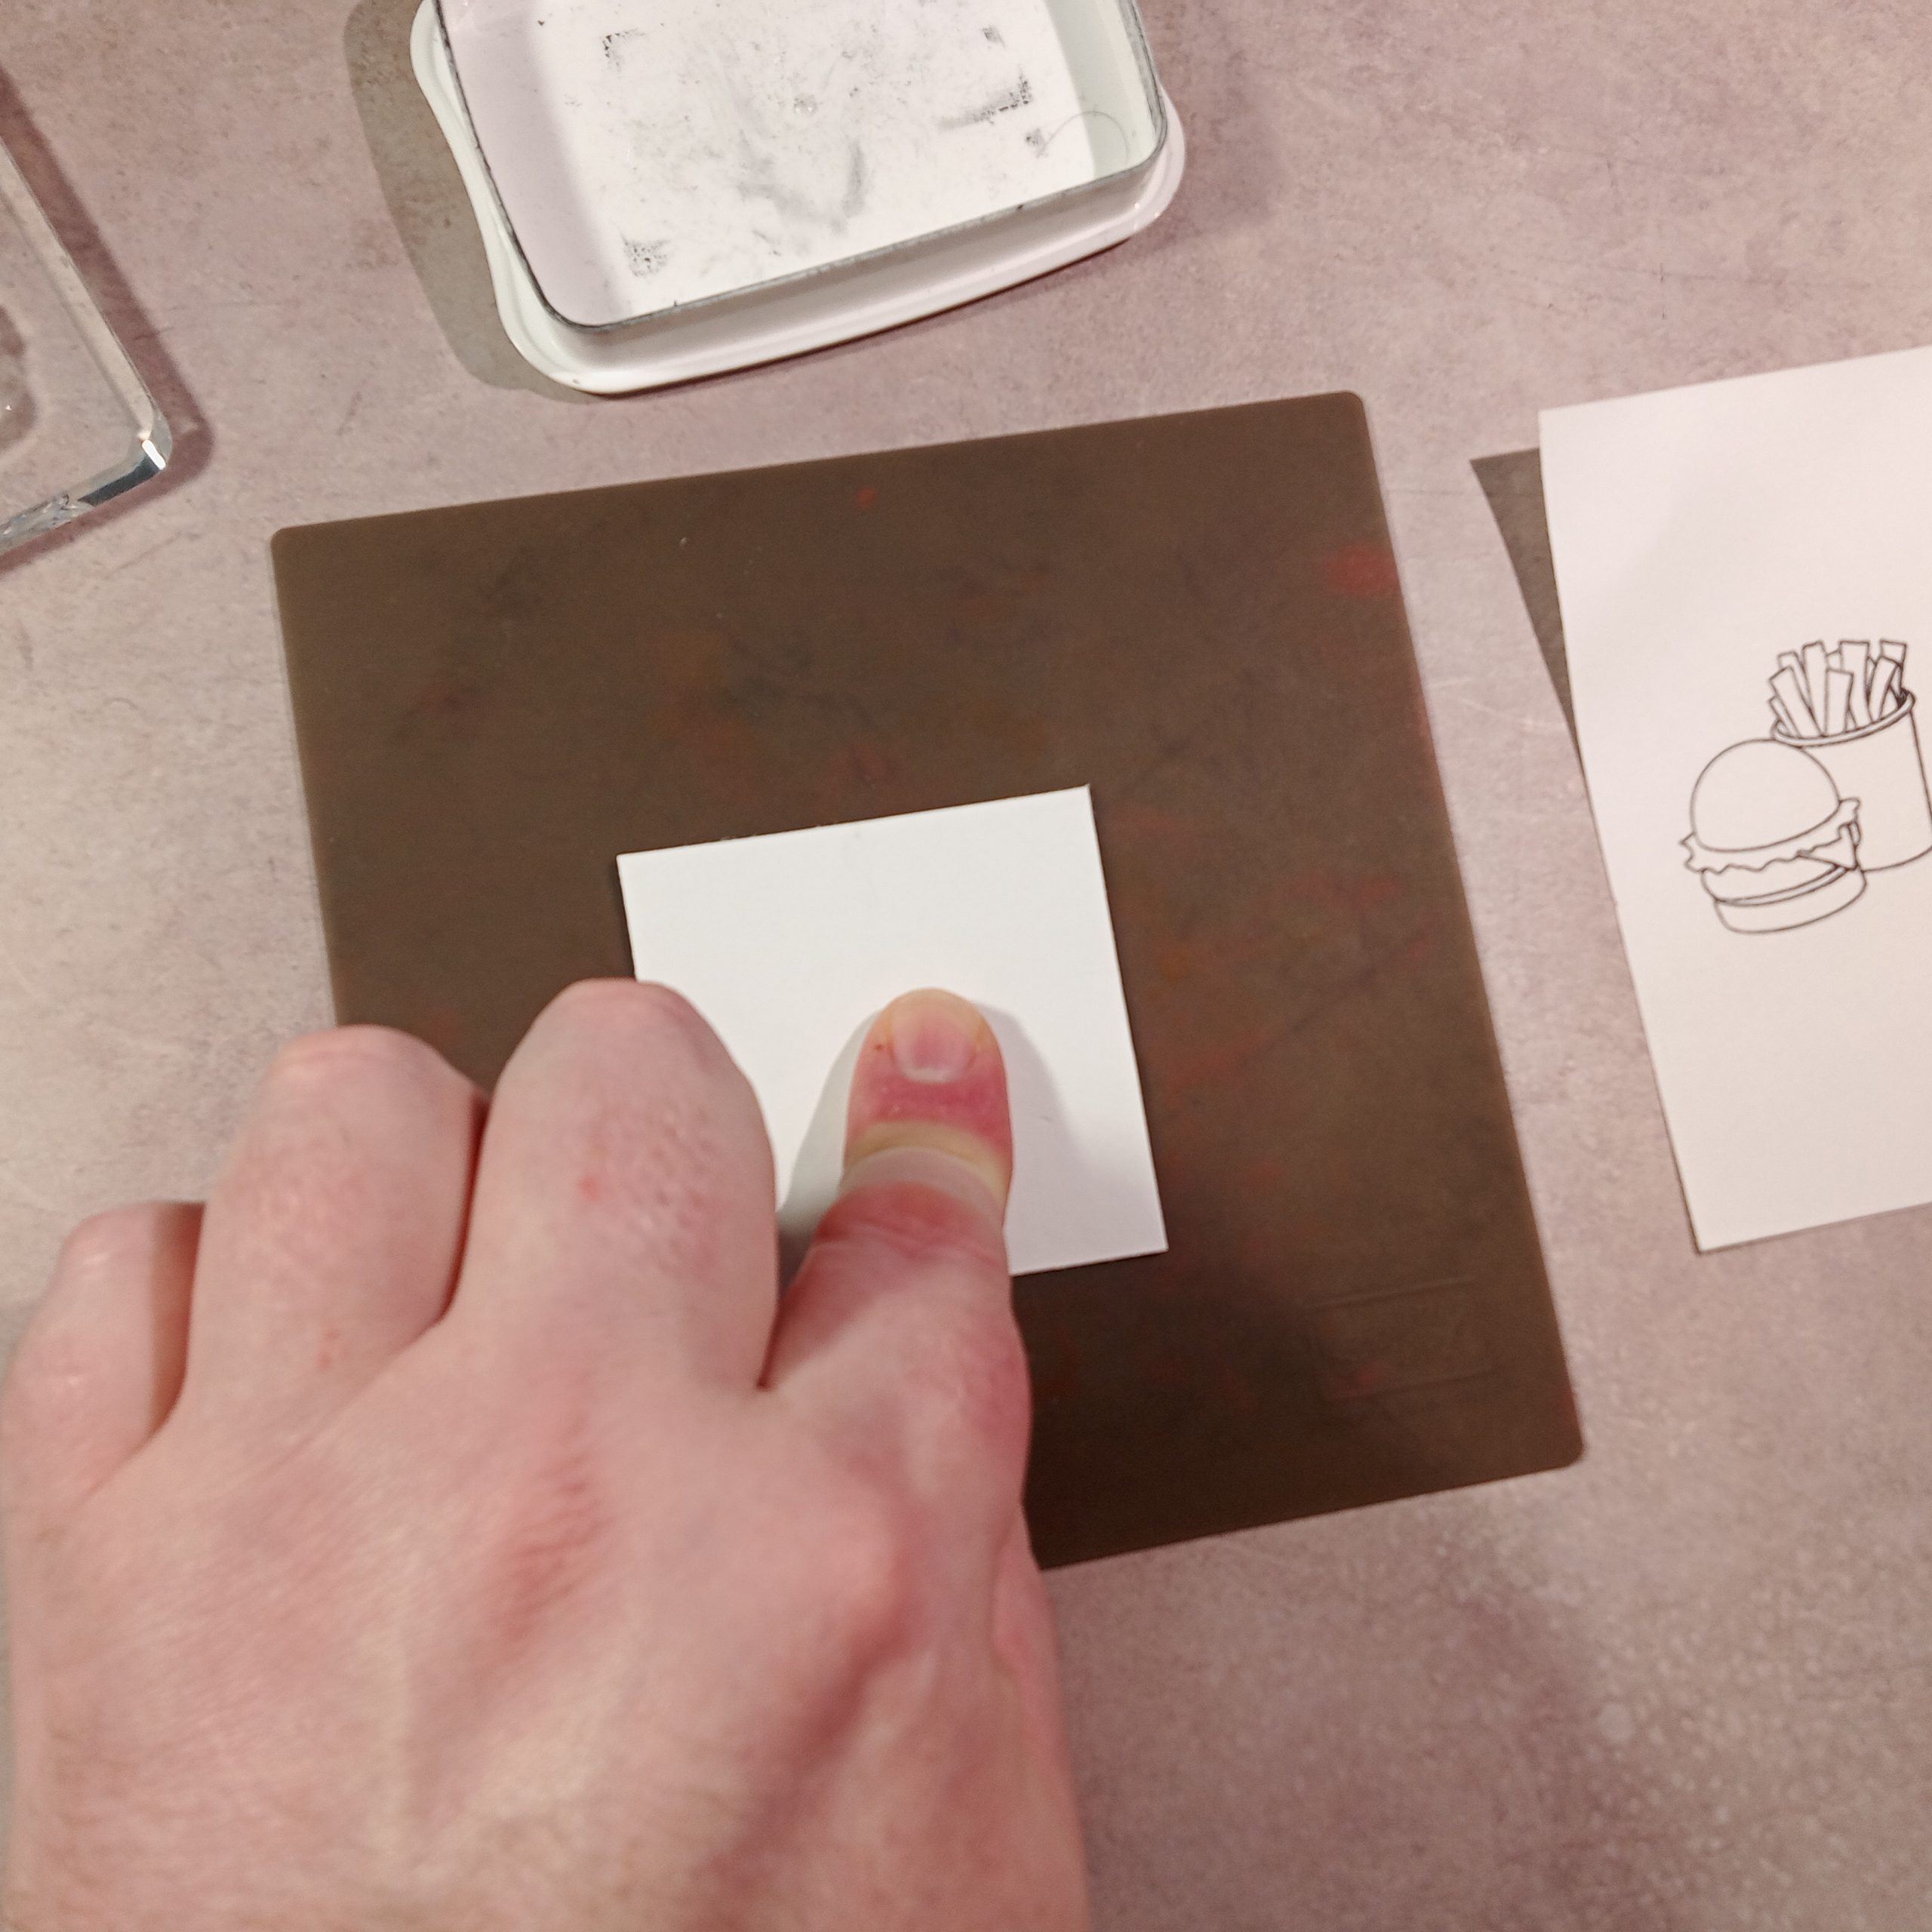
- While keeping the cardstock in place, gently rub the top of the cardstock in place to transfer the ink to the cardstock.
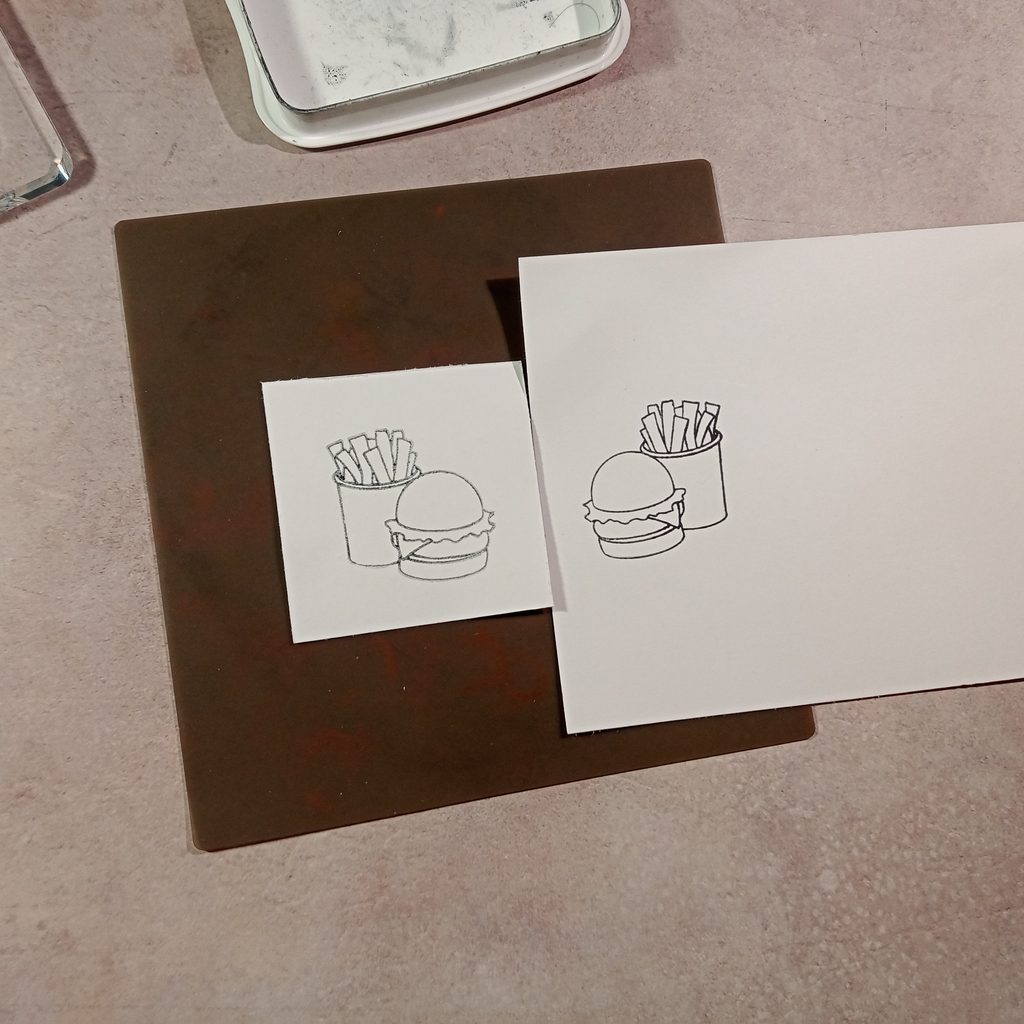
- When you are done, lift the cardstock up very gently and this is your final result compared to the original image (at right)
If you want a visual tutorial of this process, watch my YouTube video by clicking right here
That concludes today’s tip. Hope everyone has a great day, and I’ll see y’all again soon!